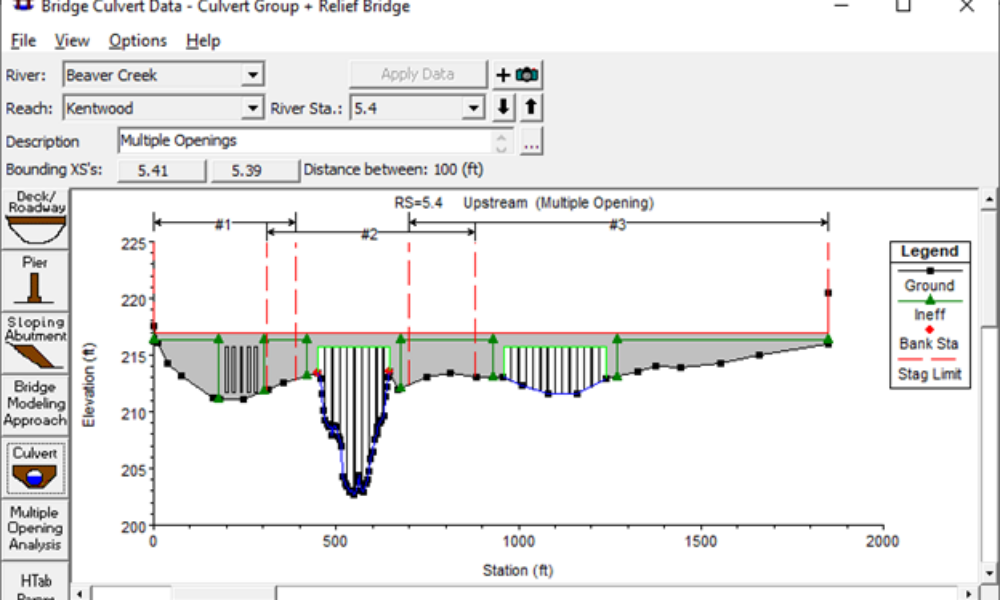
Multiple Opening Analysis
Did you know that if you have a bridge opening and one or more culverts at a single river crossing a Multiple Opening Analysis is required?
Screen recordings are a powerful tool to help display and share animations from your RAS model. You can create screen recordings of the RAS Mapper animations that can be used to show changes in velocity, WSE, Depth, or any other mapping variables over time, instead of as a still image. There is software out there that will create screen capture animations; SnagIt is one I use a lot. A quick Google Search will turn up several options as well. However many of these will cost money to download and the free ones will commonly have built in advertisements that will display on your animations. Not to mention the risk of downloading a harmful app or malware. But have you ever wondered how to create a screen recording without the cost or risk of downloading an outside software? Well, the solution is readily available to Microsoft office users. Microsoft PowerPoint includes a built-in recording studio that will allow you to record your screen. The steps to creating a screen recording using Microsoft PowerPoint are as follows:
1. Open Microsoft PowerPoint
2. Right click on your toolbar ribbon and select “Customize Ribbon”.

3. Check the “recording” box on the “Customize the Ribbon”, “Main tabs” drop down list.
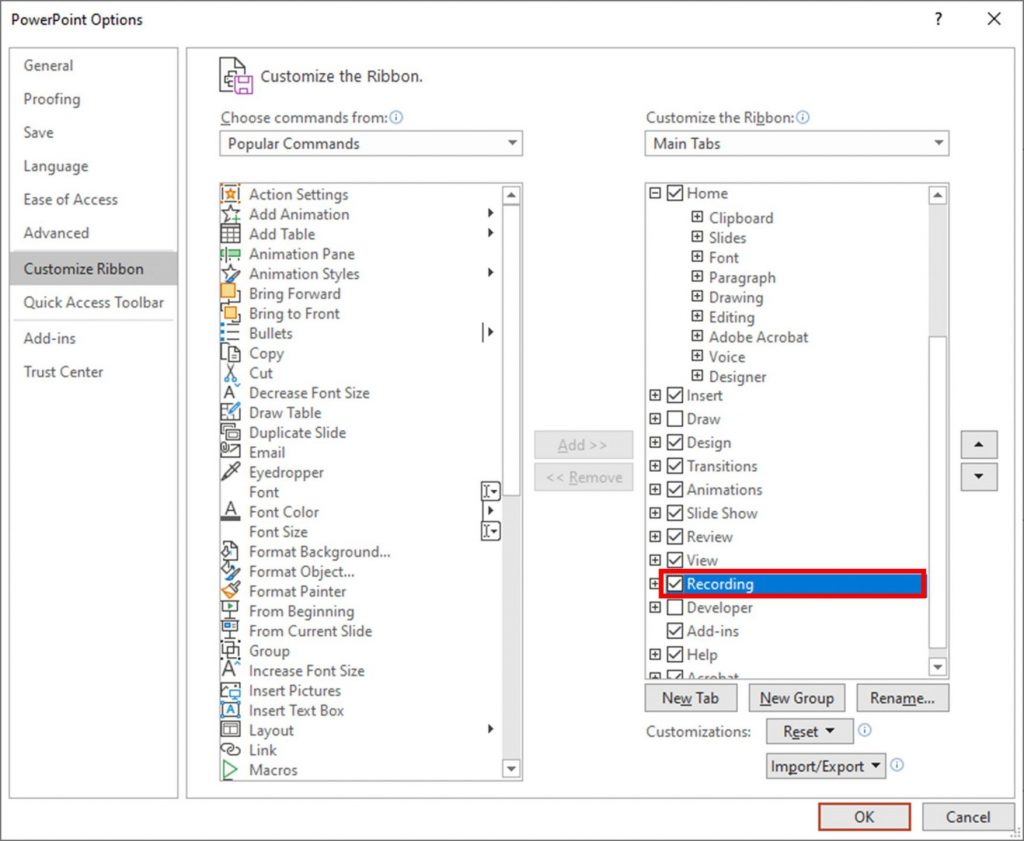
The “Recording” tab in the toolbar should now be available.
4. Go to the “Recording” tab and select “Screen Recording”.

5. A recording tool bar will appear on your screen. This toolbar allows you to draw your recording area, record your pointer, record audio, and record. Draw your area using “Select Area” and then press “Record” to start your recording.
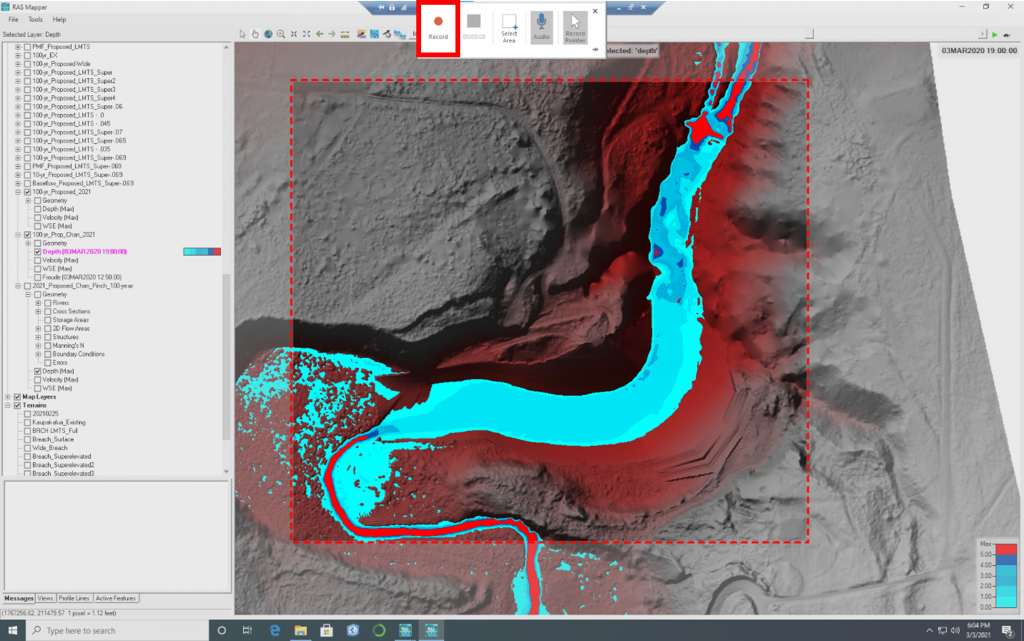
A countdown will appear counting down until the recording starts.

6. To end the recording, bring your curser back to the top middle of your desktop where the recording toolbar was prior to the countdown. The recording toolbar should reappear and allow you to select the “Stop” button to end the recording.
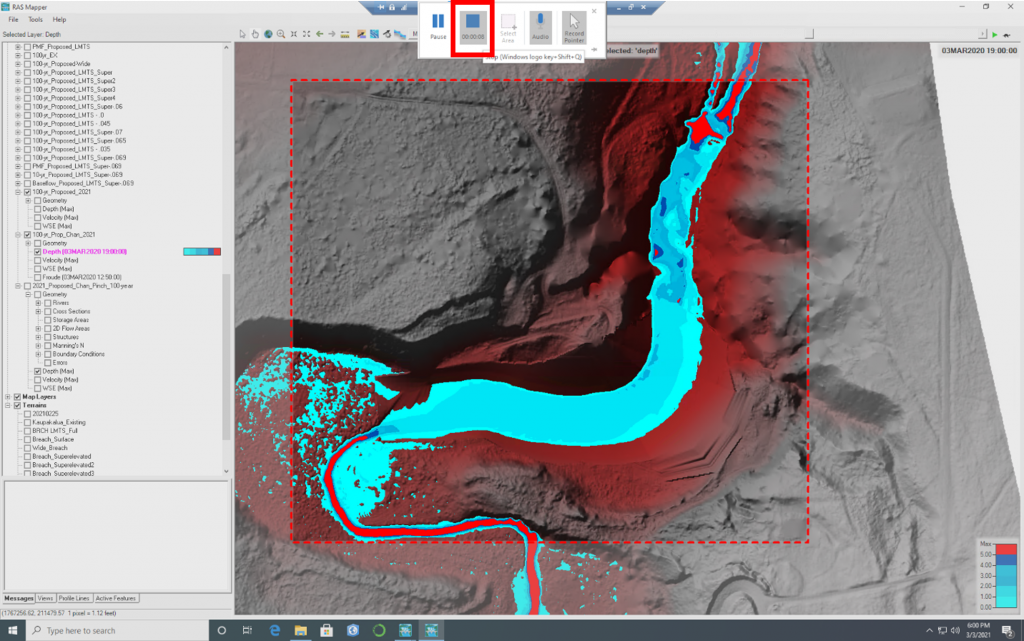
7. The recording should be imported into your PowerPoint presentation where you can right click and select “Save Media as…” to save your recording as an mp4 media file.
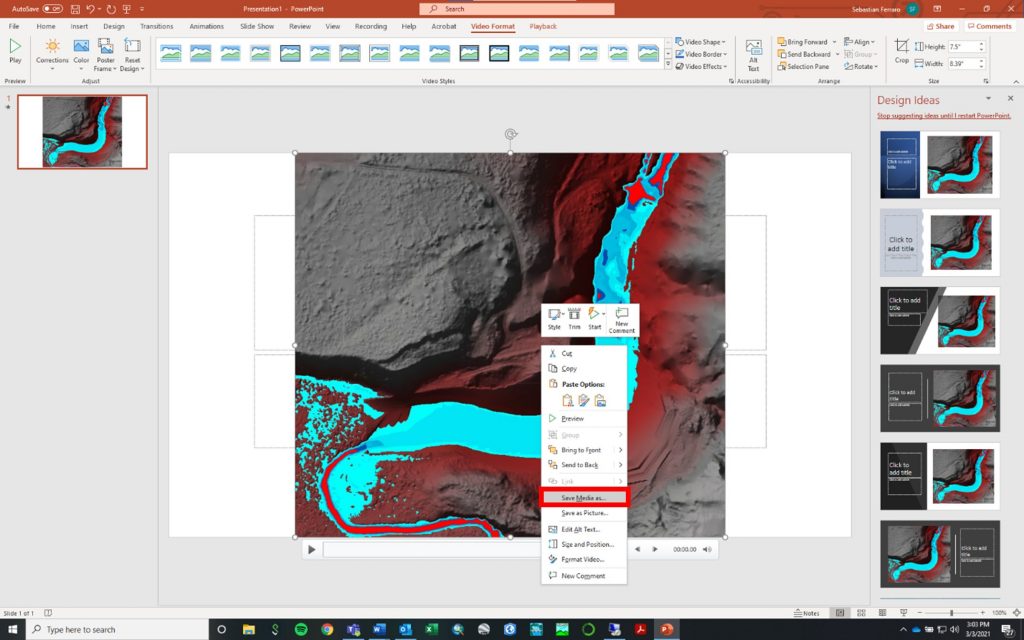
That’s it! A quick and easy way to use Microsoft PowerPoint to create a screen recording of your RAS output.
Comments
Steve Klawitter
on June 4, 2021The screen recording option is also available without steps 1-3 on the far right end of the insert tab of the ribbon.
R K Jaiswal
on June 4, 2021Thanks for showing a nice way to add mp4 recording in ppt
Krey Price
on June 4, 2021Great to see this in writing! For anyone like me whose brain buffer sometimes can’t keep up with the real-time recording, the Windows Key + Shift + R keystroke is very handy to start, pause, and restart the recording (then Windows Key + Shift + Q to finish). I wish Microsoft had come up with a less awkward keystroke combination that would allow you to initiate the pause with one hand; I sometimes end up rotating my keyboard so I can keep my left hand fingers on the keystrokes to start and stop more smoothly while keeping my other hand on the mouse. You can click on the pause button itself, but that sometimes adds longer transitions, especially if it’s capturing another screen. In any case, pausing can allow you to set up the next variable for display or just collect your thoughts, which can save editing time afterwards if you’d otherwise have to cut out the transitions after saving the video file.
Arnab Ghosh
on June 6, 2021I want to develop a 2D sediment transport model on the same river. But after successfully running the model there is also some debugging issue. I attached the debugging criteria as a screenshot with this mail.
If you please resolve this issue, I will be highly obliged to you. Please tell me how to get rid of this problem so that I can run the 2D sediment transport model.
Steve
on September 13, 2021Thank you for sharing this information, surely gives my HEC-RAS project tutorials a good kick-start.
Add Your Comment